Last november I bought a 20" generic euro cab, with its restoration in mind.
Here's a report of the restoration

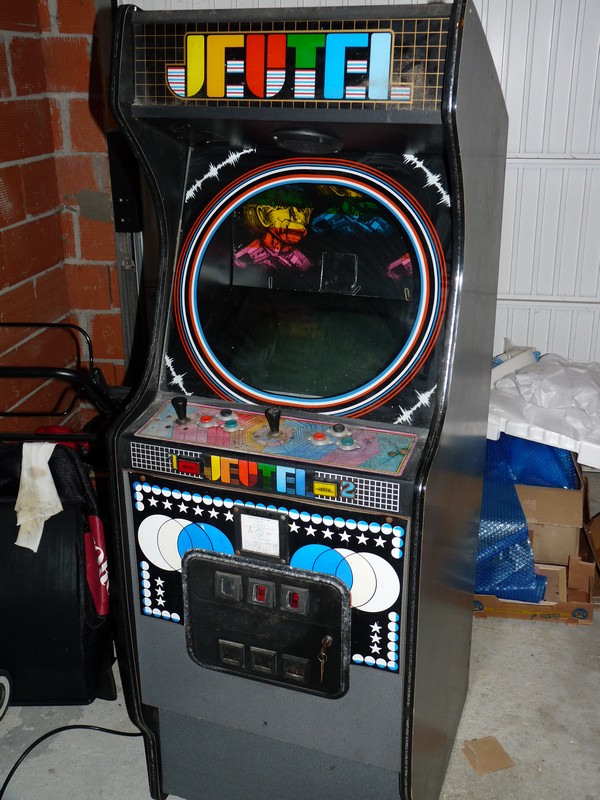
Here's a picture of the cab when I got it :
 1. Weight
The cab weights between 80 and 100 kgs and is a pain to move. So I've installed 4 rollers on the underside (will ease cleaning behind and under the cab, will rise the WAF

)
Each roller can take 40 kgs, it'll be more than enough
2. MarqueeWas back-lit by a neon light which wasn't working anymore.

I wasn't happy with the 220V power supply, so I replaced it with a 12V LED strip light :

I also changed the coin-door wedge lights by 12V ones.
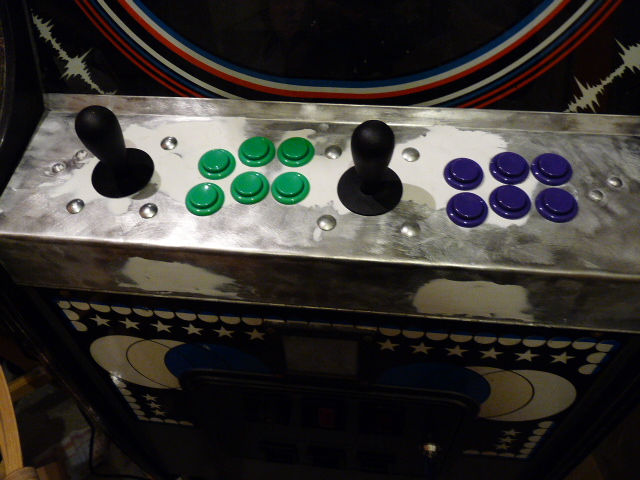
3. Control panel restorationThe original control panel was really worn off, and I wanted to have 6 buttons by players. Its restoration was done in 4 steps :
- mechanical stripping to remove previous design
- previous holes filling with synthetic resin + filler
- sanding to get a homogeneous surface
- drilling of the new holes using a sheet metal punch
Here's the final result :
I also stripped the coin-door and painted it in black ...
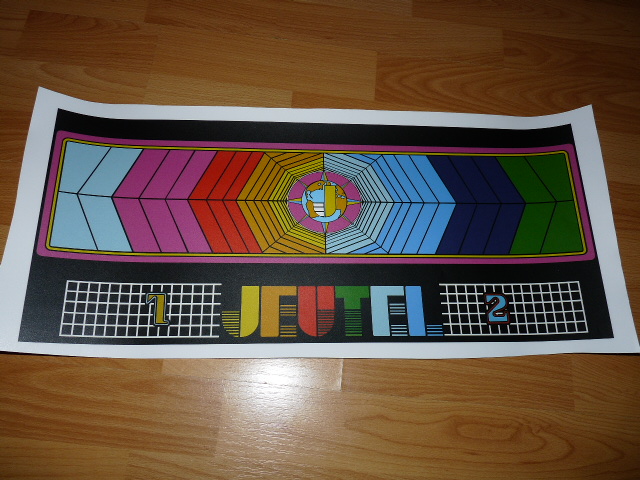
4. Panel design recreationAs the original CPO wasn't in a really good shape, I started its vectorization.
To do so, I took high res pictures of the existing panel to be used as a work base, then I used Inkscape to do the vectorizing itself.
Here's a sample of the used pictures :


And the final result :

I have to say I'm quite happy with the result

I ordered the repro to the printer, and here's what I got :
Installing on the panel ...

... and the final result after putting on joysticks and buttons !

Looks way better now
5. Coin door design recreationThis design was completely washed out, amazingly only the blue color resisted the ravages of time ...
I used the same technique than above to vectorize :
Original design :

I had to look for similar cabs on internet to get the correct colors ...
Vectorization :

And now a global pic with everything in place (to compare with the first pic of the post) :
 6. Last bits
Cab was fully wired to Jamma as previous wiring was proprietary.
For the coin mechanism, I didn't wanted to change the existing one by adding a button or something similar, so I did some tweaking : using some wire and a lot of patience, I succeeded in linking the coin eject mechanism to the coin add :

Works like a charm, and can be removed anytime
I also did a capkit, it wasn't easy as some capacitors weren't described in the documentation, but hey, where would be the fun otherwise

I'll finish with 2 pics of the cab in its final state :


Well, I guess that's all for now


 Author
